Leaf Press Art for Fall
Leaf Press Art for Fall: How to Create Your Own
Materials Needed:
- Fresh fall leaves (various shapes and sizes)
- Acrylic paint or fabric paint
- Paintbrush or sponge
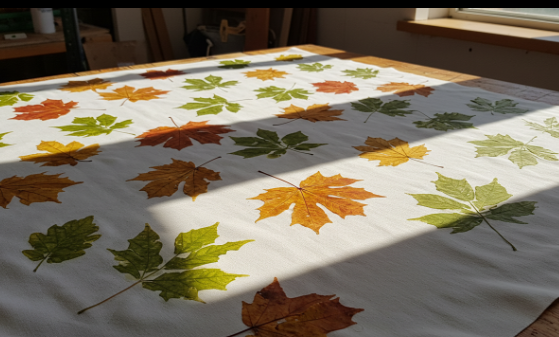
- Paper, canvas, or fabric (such as a tote bag or t-shirt)
- Palette or plate for paint
- Newspaper or protective covering for your work surface
- Paper towels or wipes for cleanup
Steps:
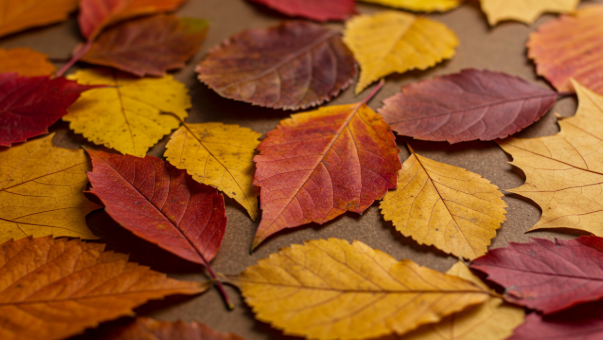
- Collect Leaves
- Go outside and gather a variety of colorful fall leaves. Look for leaves with interesting shapes and textures.
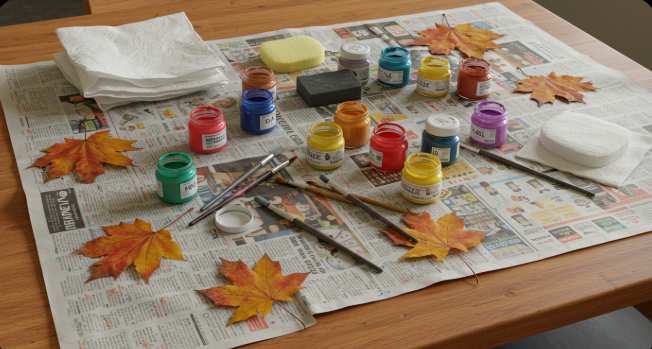
- Prepare Your Workspace
- Cover your work surface with newspaper to protect it from paint.
- Lay out your materials within easy reach.
Making fall leaf art is a wonderful way to capture the beauty of the season. The process generally involves two main steps: preserving the leaves and then using them in a craft project.
Step 1: Preserving Your Leaves
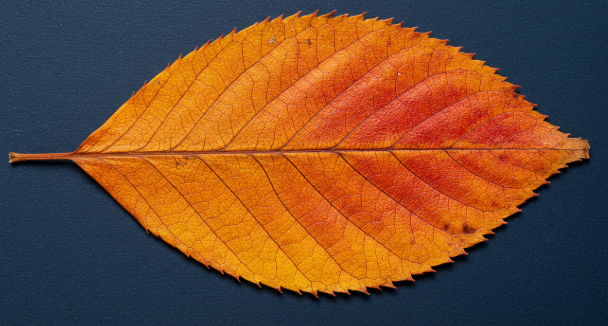
Before you can use the leaves in art, you need to preserve them so they don’t curl up, become brittle, or lose their vibrant color. Here are a few popular methods:
- Pressing with a Book:
- Find leaves that are relatively flat and still have some flexibility.
- Place each leaf between two sheets of wax paper.
- Place the wax-paper-sandwich inside a heavy book. You can add more books on top for extra weight.
- Leave the leaves to press for at least two weeks. They will have a paper-like, flat consistency when ready. This is a great method for preserving their shape and detail.
- Pressing with an Iron:
- This is a faster method than using a book.
- Place a leaf between two sheets of wax paper.
- Set your iron to a high temperature (no steam).
- Place the wax paper sandwich on an ironing board and press the iron on top for a few seconds. Flip and repeat. The wax will melt and seal the leaf.
- Let the leaf cool before handling.
- Soaking in Glycerin:
- This method keeps leaves flexible.
- Create a solution of one part glycerin to two parts water.
- Submerge the leaves in the solution and weigh them down with a plate or stone to keep them fully immersed.
- Let the leaves soak for 2-6 days. When they are ready, they will feel soft and malleable. Gently pat them dry with a paper towel.
Step 2: Fall Leaf Art Projects
Once you have preserved leaves, the creative possibilities are endless. Here are some popular ideas for all ages:
For Kids
- Leaf Rubbings: Place a sheet of paper over a flat leaf and use the side of a crayon to rub over it, revealing the leaf’s intricate texture and veins.
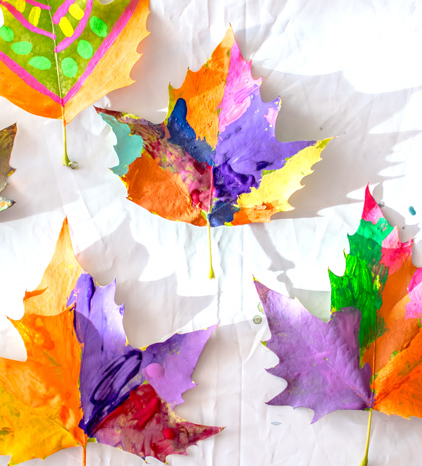
- Painted Leaves: Use acrylic or watercolor paints to add designs, patterns, or funny faces directly onto the leaves.
- Leaf Collages: Simply glue leaves onto paper in a decorative pattern to create a nature-inspired collage or scene.
For Adults (or with adult supervision)
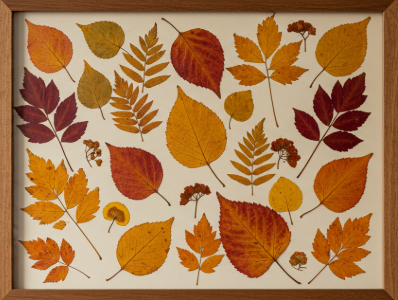
- Framed Pressed Leaves: Frame a collection of beautifully preserved leaves in a floating glass frame or on a piece of cardstock for elegant wall art.
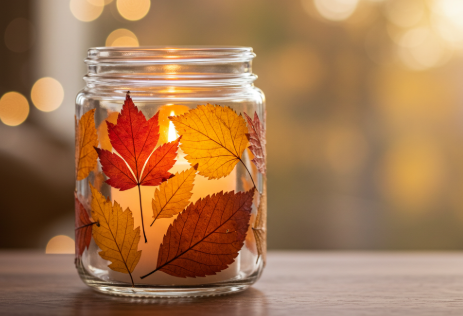
- Leaf Lanterns or Candle Holders: Glue pressed leaves onto a glass jar or vase using Mod Podge or a clear craft glue. Place a candle (real or LED) inside for a warm, fall glow.
- Leaf Garland: Hot glue or stitch pressed leaves onto a piece of twine or ribbon to create a festive garland for a mantel or doorway.

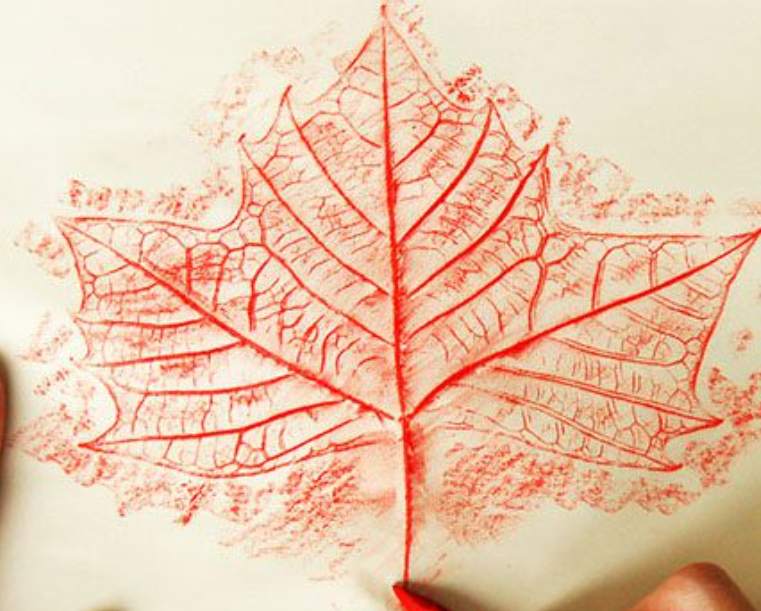
- Leaf Printing: This is a classic method. Paint one side of a leaf (the veiny underside works best for texture) and press it onto paper or fabric to create a print. Use a rubber brayer or rolling pin to ensure an even press.