Building and Flying a Kite
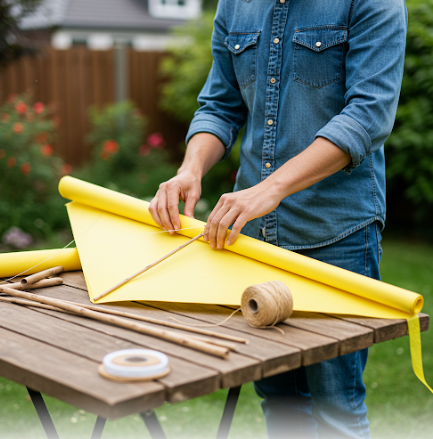
How to Build a Kite
Materials Needed:
- 2 lightweight wooden dowels (one longer than the other)
- String or strong thread
- Thin plastic sheet, tissue paper, or lightweight fabric
- Scissors
- Tape or glue
- Ruler
- Marker
- A small piece of cloth or ribbon for the tail
Step 1: Build the Frame
- Take the two wooden dowels and lay them out in a cross shape, with the shorter dowel placed horizontally across the longer one.
- Use string or strong thread to tie the two dowels together securely at their intersection. Make sure the cross is stable and balanced.
Step 2: Create the Kite Shape
- Use the string to outline the kite’s frame. Start by tying the string to one end of the longer dowel, then run it to the end of the shorter dowel, back to the other end of the longer dowel, and so on, creating a diamond shape.
- Once the string is in place, tie it securely to complete the frame outline.
Step 3: Cut and Attach the Covering
- Lay the plastic sheet, tissue paper, or fabric flat on a surface.
- Place the kite frame on top and use a marker to trace around the outer edges, leaving about 1 inch of extra material on all sides.
- Cut out the shape, then fold the edges over the string frame and secure them with tape or glue.
Step 4: Add the Tail
- Cut a piece of string for the tail, about 4-6 feet long.
- Attach small ribbons or cloth strips evenly along the string to add weight and stability.
- Tie the tail to the bottom of the kite.
Step 5: Attach the Flying String
- Tie a long piece of string to the intersection of the two dowels. This will be your flying string.
- Wrap the other end of the string around a spool or stick for easy control.
Step 6: Test and Fly
- Take your kite to an open area with plenty of space and minimal obstructions.
- Hold the kite up and run against the wind to launch it. Adjust the string and tail if needed for better flight.
Enjoy flying your homemade kite!
Buying a Kite
Factors to Consider When Buying a Kite
- Skill Level: Beginners should look for kites that are easy to assemble and fly, such as single-line kites. Experienced flyers might prefer more advanced kites, like stunt or power kites.
- Wind Conditions: Different kites perform better in specific wind ranges. Check the wind rating for the kite to ensure it matches your local weather conditions.
- Purpose: Are you flying for leisure, sport, or as part of a performance? The type of kite you choose should align with your goals.
- Materials and Durability: Look for kites made from durable materials like ripstop nylon or polyester. Sturdy fiberglass or carbon rods can help your kite withstand strong winds.
- Size and Shape: Larger kites are often more stable but may require higher wind speeds. Smaller kites are easier for beginners to handle.
Types of Kites
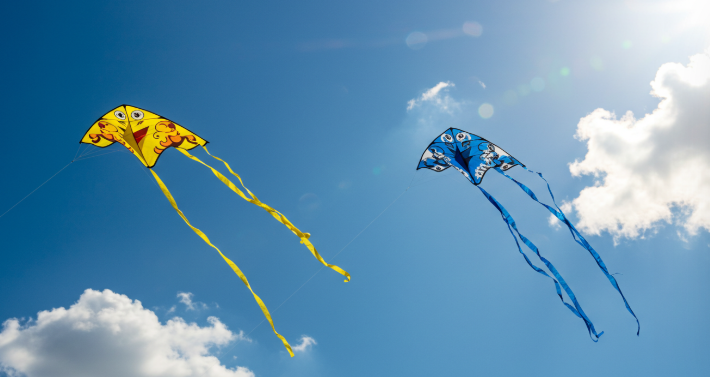
- Single-Line Kites:
- Perfect for beginners.
- Easy to control and ideal for casual flying.
- Examples include diamond kites, delta kites, and box kites.
- Stunt Kites (Dual-Line Kites):
- Designed for tricks and maneuvers.
- Require more skill to control.
- Great for intermediate to advanced flyers.
- Power/Traction Kites:
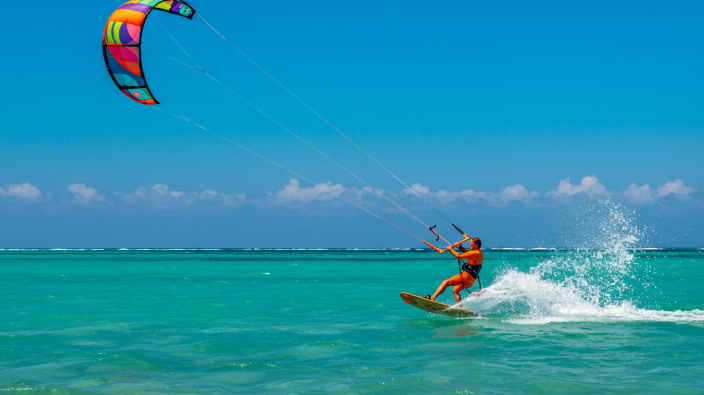
- Larger kites designed for pulling.
- Used for activities like kiteboarding, snow kiting, or landboarding.
- Requires experience and safety precautions.
- Foil Kites:
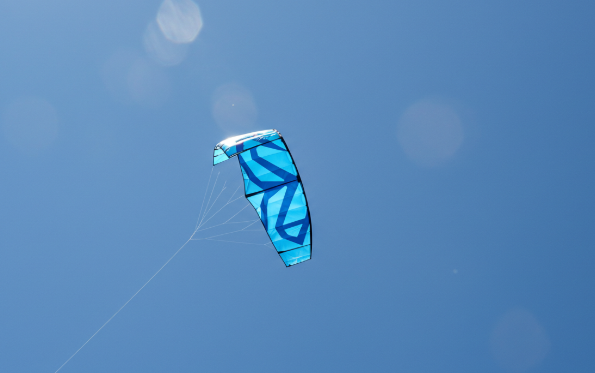
- A type of soft kite with no rigid frames.
- Often used as power kites for sports.
- Compact and easy to transport.
- Parafoil Kites:
- Similar to foil kites but larger and often used recreationally.
- Stable and ideal for medium to strong winds.
- Specialty Kites:
- Includes artistic or themed kites, such as animal shapes or 3D designs.
- Great for festivals or creative expression.
Tips for Buying a Kite
- Shop at specialized kite stores or reputable online retailers to ensure quality.
- Read reviews and check customer feedback to make an informed decision.
- Consider purchasing accessories like a kite reel or line for added convenience.
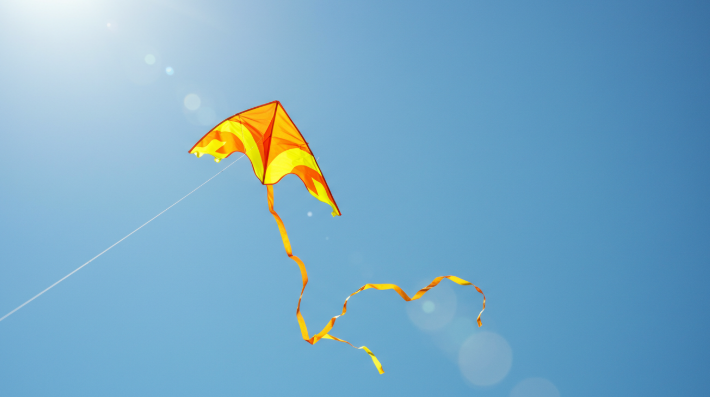
Flying a kite can be a relaxing or exhilarating experience, depending on the type you choose. With the right kite and some practice, you’ll be ready to take to the skies and enjoy this timeless activity!
Flying a Kite
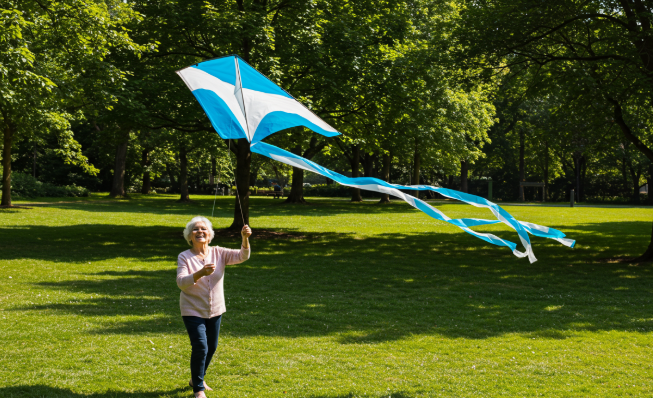
- Choose the Right Location
Find an open space like a park, beach, or field. Avoid areas with trees, power lines, or buildings that could obstruct the kite or pose safety risks. - Check the Wind Conditions
Light to moderate winds (between 5-25 mph) are ideal for flying a kite. Too little or too much wind can make it difficult. - Assemble Your Kite
Follow the instructions to set up your kite. Make sure it’s properly assembled with all rods, strings, and components secure. - Hold the Kite Properly
Stand with your back to the wind. Hold the kite by its frame or bridle and let the wind catch it. - Launch the Kite
Start by letting out a few feet of string. Gently toss the kite into the wind while pulling on the string to create tension. If the wind is strong enough, the kite should take off on its own. Otherwise, take a few steps backward to help it lift. - Control the Kite
Once the kite is in the air, let out more string gradually to allow it to climb higher. Keep tension on the line to maintain control. Use gentle tugs to adjust the kite’s direction or height. - Keep an Eye on the Kite
Watch for sudden changes in wind or obstacles that could interfere with your kite. If the wind dies down, reel it in slowly to prevent it from crashing. - Bring the Kite Down Safely
To bring the kite back to the ground, slowly wind the string back onto the reel. Walk toward the kite as you reel it in to keep tension on the string and ensure a smooth descent. - Store Your Kite Properly
Disassemble the kite carefully and store it in a dry, safe place to prevent damage.
A fun activity for all ages. Enjoy your time flying a kite and have fun experimenting with different techniques!
Leave a Reply